Skip to Content

Release, Deploy and Run the Process

Release, deploy and run the Process to work on Tasks and monitor the Process
You will learn
  • How to release, deploy and run the Process
  • How to work on the Tasks
  • How to monitor the Process
Created by
celineaudinsap
November 20, 2022

Prerequisites

Till now, you have developed a Business Process where you will start with a form to enter your name as the processor and the file path where the invoice is stored. Then you would need to upload and annotate the invoice in order to get the data from the relevant fields by the bot: company name, invoice amount and document number. Bot will extract this data. After this you need to decide, who would be the approver (so you need to enter your email). Then you need to build the approval form to review the submitted data and approve it for further processing.

  • Step 1

    Before you run the process, ensure that the process is saved and that there are no errors showing in the Design Console.
    To run the process, you must first release and then deploy the Business Process project. Releasing a project creates a version or snapshot of the changes.

    1. In the Process Builder, choose Release.

      Release
    2. Add a Version Comment if needed and choose Release.

      Release first
    3. If it is an additional version, choose the type of version, add a Version Comment if needed and choose Release.

      Release new

      Every time you release, a new version will be created. Versions are incremented automatically based on how you want to store the changes in the repository (that is as major or minor updates or as a patch). Versions use an x.y.z format where x is a major version number, y is minor, and z is the patch number. For instance, if you are releasing your process project for the first time, then the version will start with 1.0.0. The next time you release there will be options to choose from – that is, if the new version is a major, minor, or patch update; version numbers will be automatically updated.

    4. The project released successfully and is ready to be deployed.

      If needed, you can refer to the Documentation.

      Released
  • Step 2

    You can deploy Business Process projects from each released version of the project in the Process Builder or through the Lobby. Deploying the project makes it available for others to use it. Bare in mind that you can only deploy a released version of the project.

    1. From the released version of the Business Process project in the Process Builder, choose Deploy.

      Start Deploy
    2. Choose an Environment and select Deploy.

      Choose environment

      To Deploy will take a couple of seconds/minutes depending upon how big your project is and how many different skills it has. Any errors during the deployment will be shown in the Design Console.

    3. The project deployed successfully and is now ready for running and monitoring.

      If needed, you can refer to the Documentation.

      Deployed

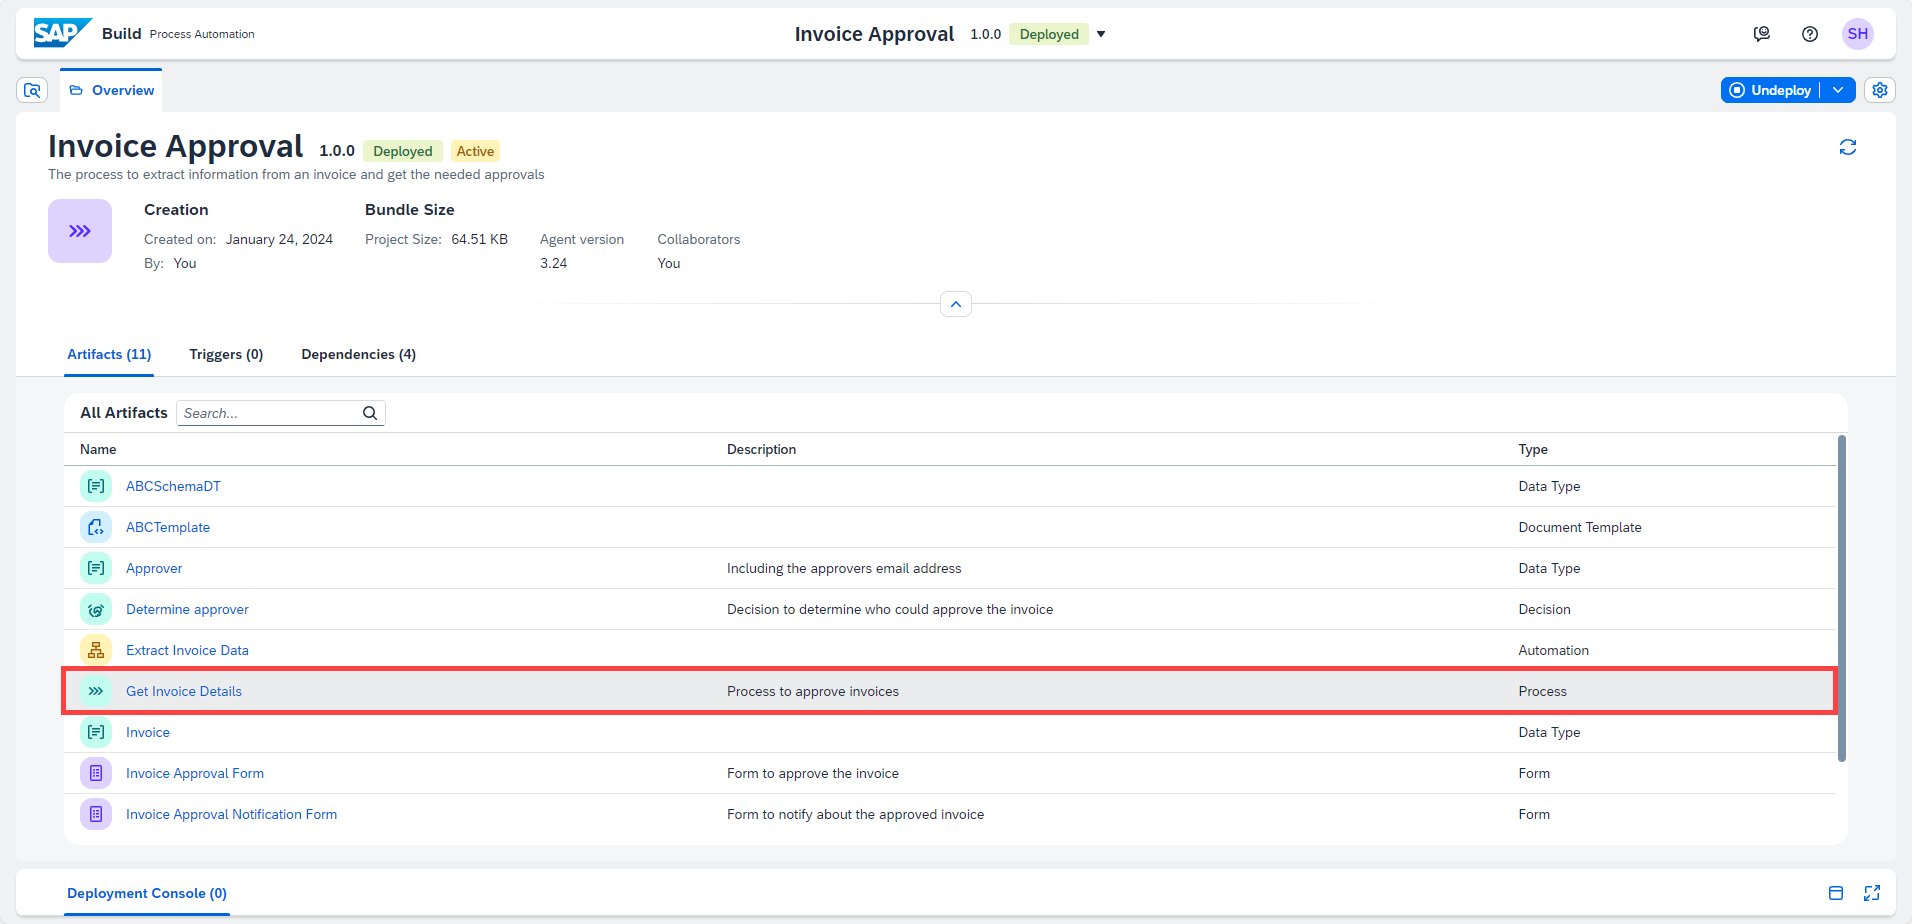
      Once the deployment is successful, you will see a changed status. You can also see all your deployed and/or released project versions from the project status list next to the project name.

      Deploy successful

      You cannot edit released or deployed projects. To continue working on your project, you need to select the Editable option from the list of released versions.

  • Step 3

    Now that you have successfully deployed your project, it is time to run the process and see the results.

    1. From the deployed version of the Business Process project in the Process Builder, open the process Get Invoice Details.

      Run
    2. Select Invoice Request Form.

    3. Choose the Copy icon aside the Form Link in the Trigger Settings.

      Run copy the form link
    4. Open the Form pasting the Form Link in a browser window.

      Run open the form
    5. Fill the Invoice Request Form and choose Submit.

      Do not enter any random value or else the Automation will not give any results.

      Run open the form
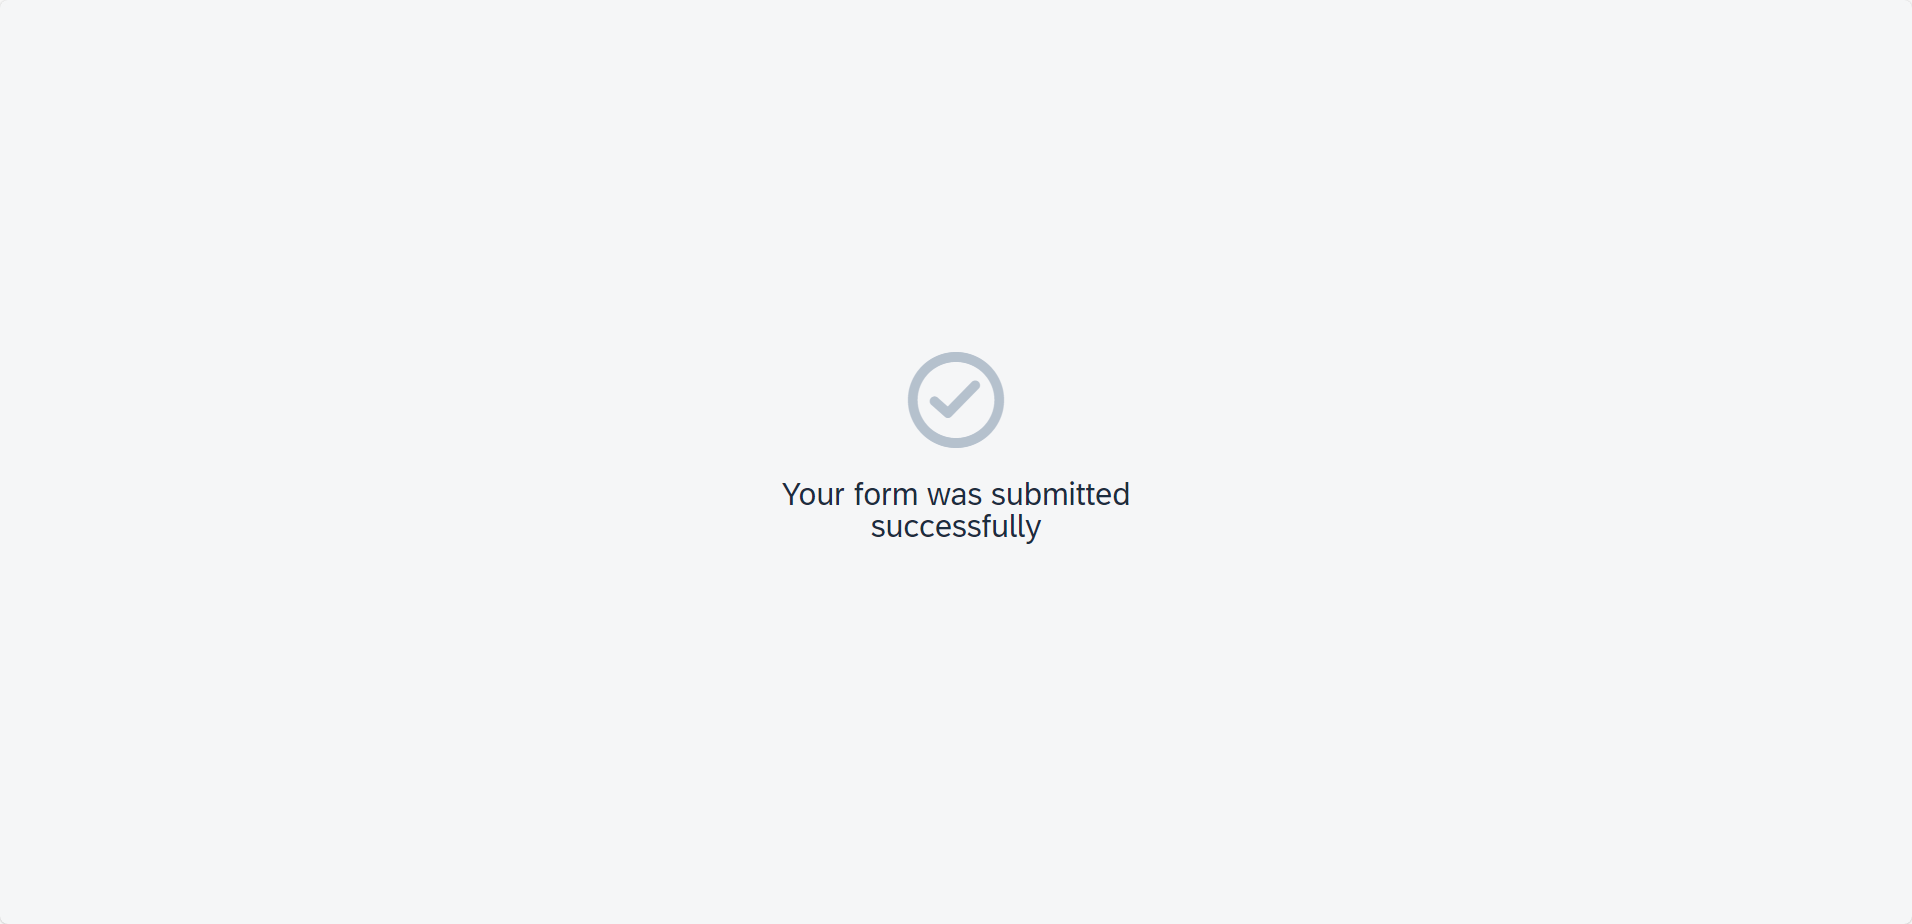
    6. The process is triggered. You can now work on the tasks and monitor the process.

      Run form successfully submitted
  • Step 4
    1. Start in the Lobby and open the My Inbox application by selecting the button

      Inbox Icon
      at the top right corner.

      Lobby
    2. After opening the My Inbox application, you will see on the left-hand side all the tasks listed. Select the task with the invoice number with which you triggered the process.

      My Inbox Actions
    3. Move on with one of the actions:

      Task Actions
      • Approve, Reject, Show Log (to see what has been done so far),
      • Claim (to reserve this task for you) or
      • Mail (to forward this task via email).
    4. You could also sort, filter or group the tasks at the bottom of the task list with these buttons:

      My Inbox Filter
    5. Depending on your selected actions and the information you have provided at the start of the process, the next task would be to Approve the invoice.

      Confirmation Form
  • Step 5
    1. Navigate to the Monitor tab and choose Process and Workflow Instances.

      Monitor
    2. Choose Get Invoice Details instance to check the status of the Logs and the Context.

      Monitor
    3. Go to Automation Jobs under Monitor.
      You can see the Automation ran successfully:

      Monitor

      Notice how the process instance progresses further to the approval step in the business process.

      Monitor

    When running a process what actions need to be performed beforehand?

  • Step 6

    The entire project is available in the SAP Build Store as a sample and you can follow the below steps to retrieve the project and use it for reference.

    1. From the SAP Build Lobby, navigate to Store.

    2. Search for the sample project: Invoice Approval Process - Sample.

    3. Choose Create from Template to retrieve the sample and save it as a new project in your lobby.

      Store
    4. Choose Create.

      Create

      Your project gets created in editable version. You may release and deploy it and run the project.

    5. Navigate back to the lobby by clicking on the SAP logo.

      Project

      You can see your project is available in the lobby.

      Lobby

Back to top