Customize the Titles of Buttons in Forms
- How to customize the title of your form button.


Prerequisites
- Either complete the mission Build Your First Business Process with SAP Build Process Automation or
- Acquire the sample project Sales Order Management (MI01) from the Store using this tutorial Acquire a Template Project from the Store.
In this tutorial, you will learn how to customize the titles of buttons in your forms. You can choose from an existing list of options or create a custom title according to your preferences.
- Step 1
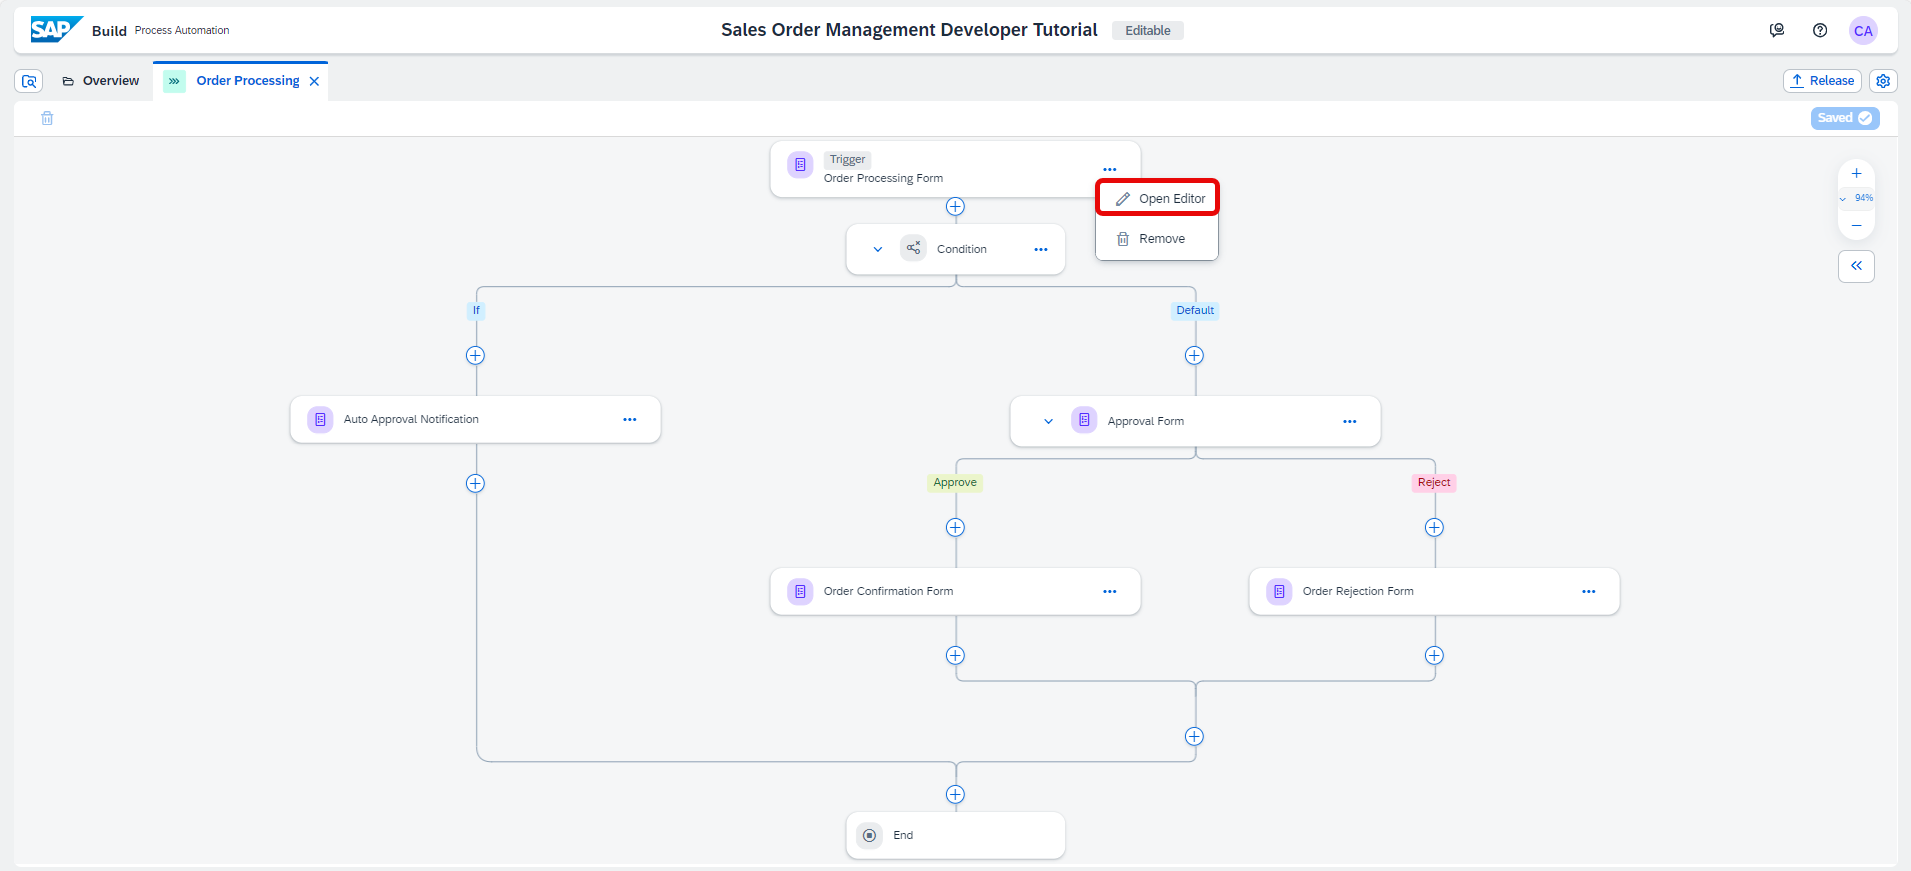
After completing the prerequisites, your process will look like this:

-
In the Order Processing process, select the Order Processing Form.
-
Click on the three dots and select Open Editor.
-
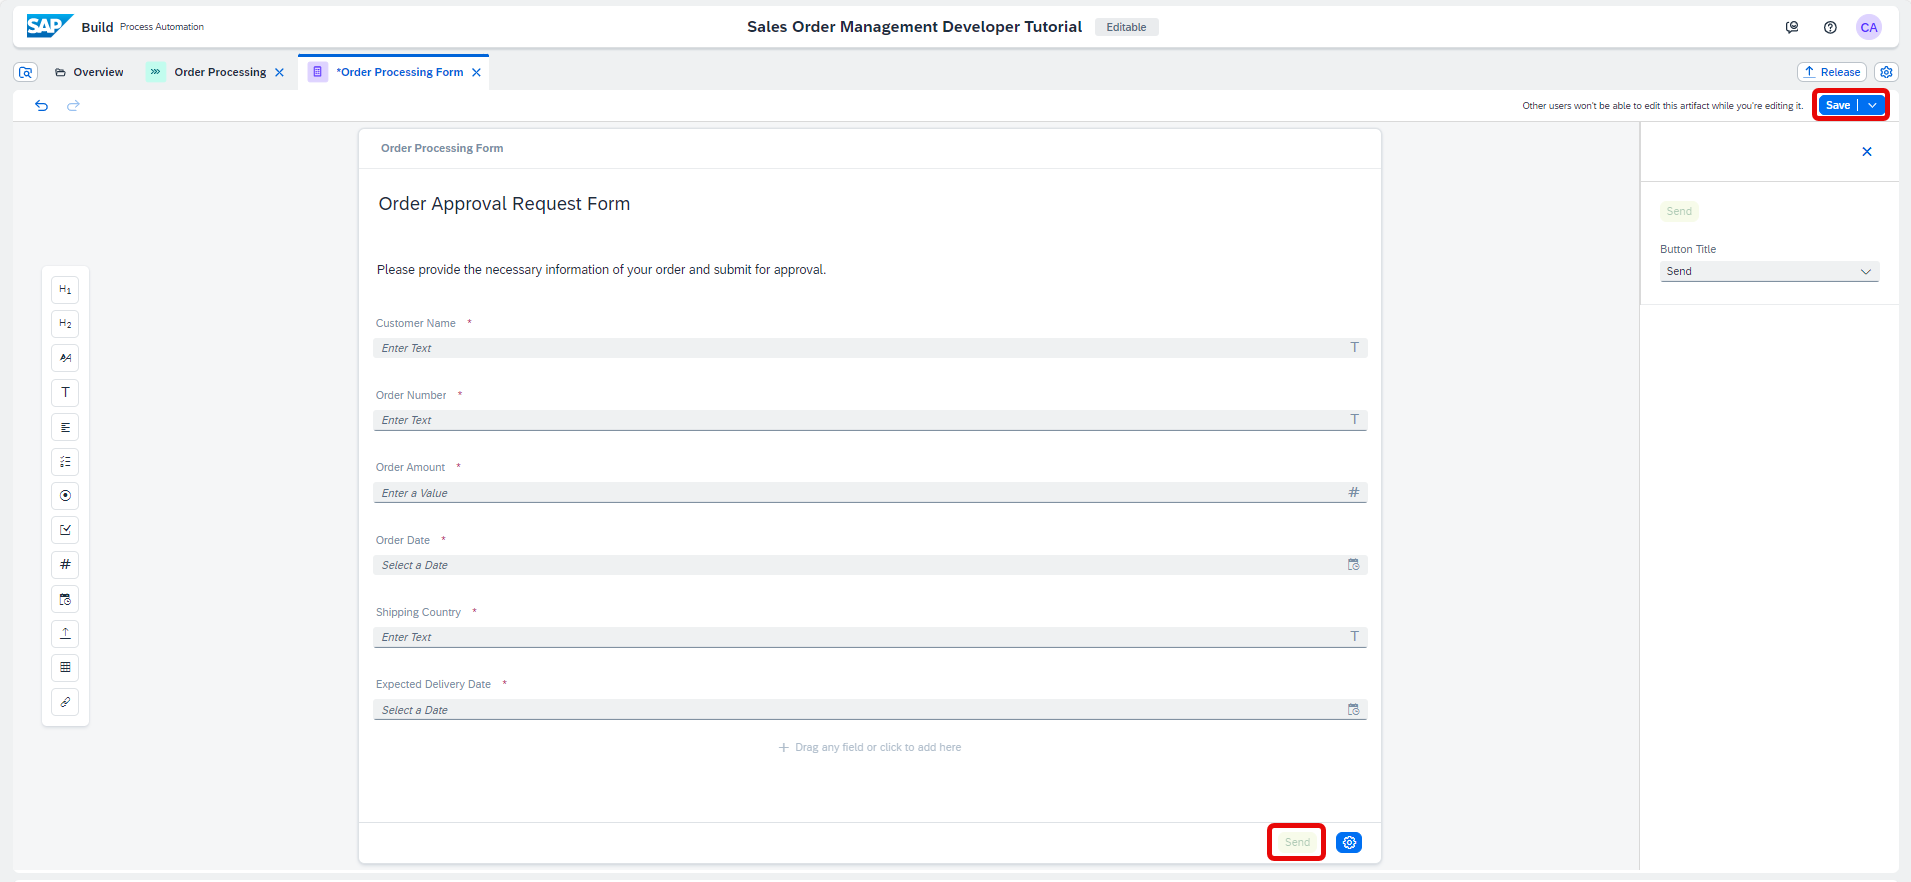
In the form builder scroll down the page. You can see the button is initially configured to Submit.
-
Choose Button Settings.

-
In the Button Settings, you can choose a different title for your Button. Select the title Send.

Now your button is configured to Send.
-
Save the form.
-
- Step 2
-
Navigate back to the Order Processing process, select the Approval Form.
-
Choose Open Editor to edit your Approval Form.

-
In the form builder, scroll down the page and choose Button Settings.

-
In the Button Settings, you can choose a different title for your buttons.

-
To customize your button, select the list of buttons and choose Custom.

-
In the Custom Button Title section, enter your custom title, for example Validate.

-
Similarly, for your second button, select the list of buttons and choose Custom.

-
In the Custom Button Title section, enter your custom title, for example Refute.

-
Save the form.
You may configure all form buttons as per your requirements.
Where can you customize the title of buttons in the form?
-
- Step 4
-
Open the process builder of the deployed version and choose Order Processing Form, select the Copy Link icon next to the Form Link field.

-
When you open the form in the browser, you will have all the input fields as you have defined in the process trigger form and the new Send button.
Enter the details required in the form and choose Send.
-
In the SAP Build Lobby, choose My Inbox icon.

-
You can see tasks appear in the My Inbox application that ships with SAP Build. With the new buttons you can either Validate or Refute the approval task.

-
Once you Validate/Refute the approval task, you may refresh the inbox again to get the final notification.

-