Create a Simple Database Table for ABAP Environment
- How to create a database table
- How to
prefillyour database table with data


Prerequisites
- You need an SAP BTP, ABAP environment trial user or license.
In this tutorial, wherever XXX appears, use a number (e.g. 000).
- Step 1
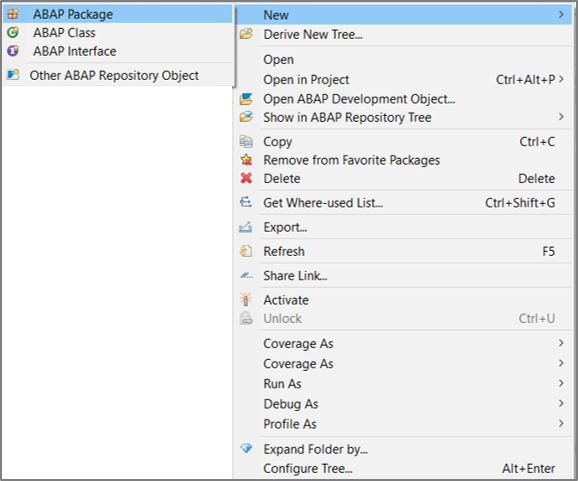
Open Eclipse, and select New > ABAP Package.
- Step 2
-
Maintain following information in the appearing dialog and click Next.
- Name:
Z_Booking_XXX - Description: Package Booking

- Name:
-
Move on with Next.

-
Select transport request and click Finish.

-
- Step 3
Right-click on your package and navigate to New > Other ABAP Repository Object from the appearing context menu.

- Step 4
- Search for database table, select the appropriate entry and click Next.

- Maintain the required information and click Next.
- Name:
ZTBOOKING_XXX - Description: Table Booking

- Name:
-
On the next dialog, provide a transport request and click Finish.

-
Check result. An empty table is now created.

- Search for database table, select the appropriate entry and click Next.
- Step 5
-
Define the table columns (client, booking,
customername,numberofpassengers, …). Specify client and booking as key fields, and the fieldcurrencycodeas currency key for cost as displayed below. The table annotations (beginning with @) remain unchanged. For that, you can copy the database table definition provided below.ABAPCopy@EndUserText.label : 'Demo: Booking Data' @AbapCatalog.enhancementCategory : #NOT_EXTENSIBLE @AbapCatalog.tableCategory : #TRANSPARENT @AbapCatalog.deliveryClass : #A @AbapCatalog.dataMaintenance : #LIMITED define table ztbooking_xxx { key client : abap.clnt not null; key booking : abap.int4 not null; customername : abap.char(50); numberofpassengers : abap.int2; emailaddress : abap.char(50); country : abap.char(50); dateofbooking : timestampl; dateoftravel : timestampl; @Semantics.amount.currencyCode : 'ztbooking_xxx.currencycode' cost : abap.curr(15,2); currencycode : abap.cuky; lastchangedat : timestampl; } -
Save and activate the database table.

-
- Step 6
-
Create a class in order to
prefillour created database table. Right-click on your package and navigate to New > ABAP Class in the appearing context menu.
-
Provide the required information and click Next.
- Name:
ZBP_GENERATE_BOOKINGS_XXX - Description: Class to generate bookings

- Name:
-
Provide a transport request and click Finish.

-
- Step 7
-
Replace the source code of your class with the one provided below:
ABAPCopyCLASS zbp_generate_bookings_xxx DEFINITION PUBLIC FINAL CREATE PUBLIC . PUBLIC SECTION. INTERFACES if_oo_adt_classrun. PROTECTED SECTION. PRIVATE SECTION. ENDCLASS. CLASS zbp_generate_bookings_xxx IMPLEMENTATION. METHOD if_oo_adt_classrun~main. DATA:it_bookings TYPE TABLE OF ztbooking_xxx. * read current timestamp GET TIME STAMP FIELD DATA(zv_tsl). * fill internal table (itab) it_bookings = VALUE #( ( booking = '1' customername = 'Buchholm' numberofpassengers = '3' emailaddress = 'tester1@flight.example.com' country = 'Germany' dateofbooking ='20180213125959' dateoftravel ='20180213125959' cost = '546' currencycode = 'EUR' lastchangedat = zv_tsl ) ( booking = '2' customername = 'Jeremias' numberofpassengers = '1' emailaddress = 'tester2@flight.example.com' country = 'USA' dateofbooking ='20180313125959' dateoftravel ='20180313125959' cost = '1373' currencycode = 'USD' lastchangedat = zv_tsl ) ). * Delete the possible entries in the database table - in case it was already filled DELETE FROM ztbooking_xxx. * insert the new table entries INSERT ztbooking_xxx FROM TABLE @it_bookings. * check the result SELECT * FROM ztbooking_xxx INTO TABLE @it_bookings. out->write( sy-dbcnt ). out->write( 'data inserted successfully!' ). ENDMETHOD. ENDCLASS. -
Save and active your class.
-
- Step 8
-
Run your class as an ABAP application (console) or press F9.

-
Check console output.

-
Switch back to your data definition and press F8 to see the inserted data.

-
Now check your result.

-