Skip to Content

Deploy and Run the Incident Management Application in the SAP BTP, Kyma Runtime with SAP S/4HANA Cloud Backend

Requires Customer/Partner License
This tutorial shows you how to prepare your application, deploy it to the SAP BTP, Kyma runtime, and test it with SAP S/4HANA Cloud connectivity.
You will learn
  • How to connect to your SAP S/4HANA Cloud system.
  • How to extend the existing Helm chart with the settings for SAP S/4HANA Cloud extension service.
  • How to test the application with your SAP S/4HANA Cloud system.
slavipandeSvetoslav PandelievMarch 5, 2025
Created by
slavipande
December 6, 2024
Contributors
grego952
slavipande

Prerequisites

This tutorial follows the guidance provided in the SAP BTP Developer’s Guide.

  • Step 1

    First, you create a service instance for the SAP S/4HANA Cloud Extensibility service with plan api-access. The SAP S/4HANA Cloud system provides pre-defined communication scenarios that contain one or multiple APIs. When creating the service instance, the communication scenario needs to be specified along with some configuration. Under the hood, a communication arrangement based on the given scenario is created in the SAP S/4HANA Cloud system.

    1. Create a new file bupa.json in the root folder of the project and paste the following code snippet in it:

      json
      Copy
      {
          "systemName": "<SYSTEM_NAME>",
          "communicationArrangement": {
              "communicationArrangementName": "<COMM_NAME>",
              "scenarioId": "SAP_COM_0008",
              "inboundAuthentication": "BasicAuthentication",
              "outboundAuthentication": "BasicAuthentication",
              "outboundServices": [
                  {
                      "name": "Replicate Customers from S/4 System to Client",
                      "isServiceActive": false
                  },
                  {
                      "name": "Replicate Suppliers from S/4 System to Client",
                      "isServiceActive": false
                  },
                  {
                      "name": "Replicate Company Addresses from S/4 System to Client",
                      "isServiceActive": false
                  },
                  {
                      "name": "Replicate Workplace Addresses from S/4 System to Client",
                      "isServiceActive": false
                  },
                  {
                      "name": "Replicate Personal Addresses from S/4 System to Client",
                      "isServiceActive": false
                  },
                  {
                      "name": "Business Partner - Replicate from SAP S/4HANA Cloud to Client",
                      "isServiceActive": false
                  },
                  {
                      "name": "Business Partner Relationship - Replicate from SAP S/4HANA Cloud to Client",
                      "isServiceActive": false
                  },
                  {
                      "name": "Business Partner - Send Confirmation from SAP S/4HANA Cloud to Client",
                      "isServiceActive": false
                  },
                  {
                      "name": "BP Relationship - Send Confirmation from SAP S/4HANA Cloud to Client",
                      "isServiceActive": false
                  }
              ],
              "communicationSystem": {
                  "communicationSystemHostname": "default.com",
                  "outboundCommunicationUser": {
                      "username": "DefaultUser",
                      "password": "DefaultPassword"
                  }
              }
          }
      }
      
      • For systemName, enter the name of your registered SAP S/4HANA Cloud system. For example, SAP S/4HANA DEV System.
      • For communicationArrangementName, enter a name for the communication arrangement that will be created for the SAP S/4HANA Cloud tenant. For example, INCIDENT_MANAGEMENT_0008.

      For more information, see Communication Arrangement JSON/YAML File - Properties.

    2. Navigate to the package.json file in the root folder of the application. Add the [production] profile credentials (destination and path) to the settings for API_BUSINESS_PARTNER:

      json
      Copy
      "API_BUSINESS_PARTNER": {
          "kind": "odata-v2",
          "model": "srv/external/API_BUSINESS_PARTNER",
          "[production]": {
              "credentials": {
                  "destination": "incident-management-s4-hana-cloud",
                  "path": "/sap/opu/odata/sap/API_BUSINESS_PARTNER"
              }
          }
      }
      
    3. Open the chart/Chart.yaml file and add the following code snippet to it:

      yaml
      Copy
      - name: service-instance
        alias: s4-hana-cloud
        version: ">0.0.0"
      
    4. Open the chart/values.yaml file and add the following code snippet to it:

      yaml
      Copy
      s4-hana-cloud:
        serviceOfferingName: s4-hana-cloud
        servicePlanName: api-access
      ....
      
  • Step 2
    • Make sure you’re logged in to your Kyma cluster. See Login to your Kyma cluster for detailed steps how to log in.

    • Make sure you’re logged in to your container registry.

    • If you’re using any device with a non-x86 processor (e.g. MacBook M1/M2) you need to instruct Docker to use x86 images by setting the DOCKER_DEFAULT_PLATFORM environment variable using the command export DOCKER_DEFAULT_PLATFORM=linux/amd64. Check Environment variables for more info.

    1. Create the productive CAP build for your application:

      bash
      Copy
      cds build --production
      

      The CAP build writes to the gen/srv folder.

    2. Build a new version of the CAP Node.js image:

      bash
      Copy
      pack build <your-container-registry>/incident-management-srv:<new-image-version> \
          --path gen/srv \
          --builder paketobuildpacks/builder-jammy-base \
          --publish
      
      • Make sure to replace <your-container-registry> with your docker server URL.

      • Keep in mind that <new-image-version> should be a string that is different from the string defined in Deploy in SAP BTP, Kyma Runtime to reflect the changes in the Incident Management app.

      Looking for your docker server URL?

      The docker server URL is the same as the path used for docker login, so you can quickly check it by running the following command in your terminal:

      json
      Copy
      cat ~/.docker/config.json
      

      In case you’re using Docker Hub as your container registry, replace the placeholder <your-container-registry> with your Docker Hub user ID.

      The pack CLI builds the image that contains the build result in the gen/srv folder and the required npm packages by using the Cloud Native Buildpack for Node.JS provided by Paketo.

    3. In the VS Code terminal, navigate to the ui-resources folder and run the following command:

      bash
      Copy
      npm install && npm run package
      

      This will build and copy the archive nsincidents.zip inside the ui-resources/resources folder.

    4. In the VS Code terminal, navigate back to the root folder of your project:

      bash
      Copy
      cd ..
      
    5. Build the UI deployer image:

      bash
      Copy
      pack build <your-container-registry>/incident-management-html5-deployer:<image-version> \
          --path ui-resources \
          --builder paketobuildpacks/builder-jammy-base \
          --publish
      
      • Make sure to replace <your-container-registry> with your docker server URL.

      • Keep in mind that <new-image-version> should be a string that is different from the string defined in Deploy in SAP BTP, Kyma Runtime to reflect the changes in the Incident Management app.

      Looking for your docker server URL?

      The docker server URL is the same as the path used for docker login, so you can quickly check it by running the following command in your terminal:

      json
      Copy
      cat ~/.docker/config.json
      

      In case you’re using Docker Hub as your container registry, replace the placeholder <your-container-registry> with your Docker Hub user ID.

    You haven’t made any changes to the database image so you don’t need to build it again.

    What is the name of the JSON file that holds all communication arrangement properties for the Incident Management application?

  • Step 3
    1. Check your container image settings to your chart/values.yaml file:

      yaml
      Copy
      global:
        domain: 
        imagePullSecret:
          name: 
        image:
          registry: <your-container-registry>
          tag: <image-version>
      

      Make sure to replace <your-container-registry> with the link to your container registry and keep in mind that <image version> should be a string.

    2. Overwrite the global image version for the CAP Node.js image and for the UI deployer image:

      yaml
      Copy
      srv:
        image:
          repository: incident-management-srv
          tag: <new-image-version>
      ...
      html5-apps-deployer:
        ...
        image:
          repository: "incident-management-html5-deployer"
          tag: <new-image-version>
      
    3. Update the productive CAP build for your application:

      bash
      Copy
      cds build --production
      
    4. Make sure your SAP HANA Cloud instance is running. Free tier HANA instances are stopped overnight.

      Your SAP HANA Cloud service instance will be automatically stopped overnight, according to the server region time zone. That means you need to restart your instance every day before you start working with it.

      You can either use SAP BTP cockpit or the terminal in the SAP Business Application Studio to restart the stopped instance:

      bash
      Copy
      cf update-service incident-management -c '{"data":{"serviceStopped":false}}'
      
    5. Deploy using the Helm command:

      bash
      Copy
      helm upgrade --install incident-management --namespace incident-management ./gen/chart \
         --set-file xsuaa.jsonParameters=xs-security.json --set-file s4-hana-cloud.jsonParameters=bupa.json
      

      This installs the Helm chart from the chart folder with the release name incident-management in the namespace incident-management.

  • Step 4

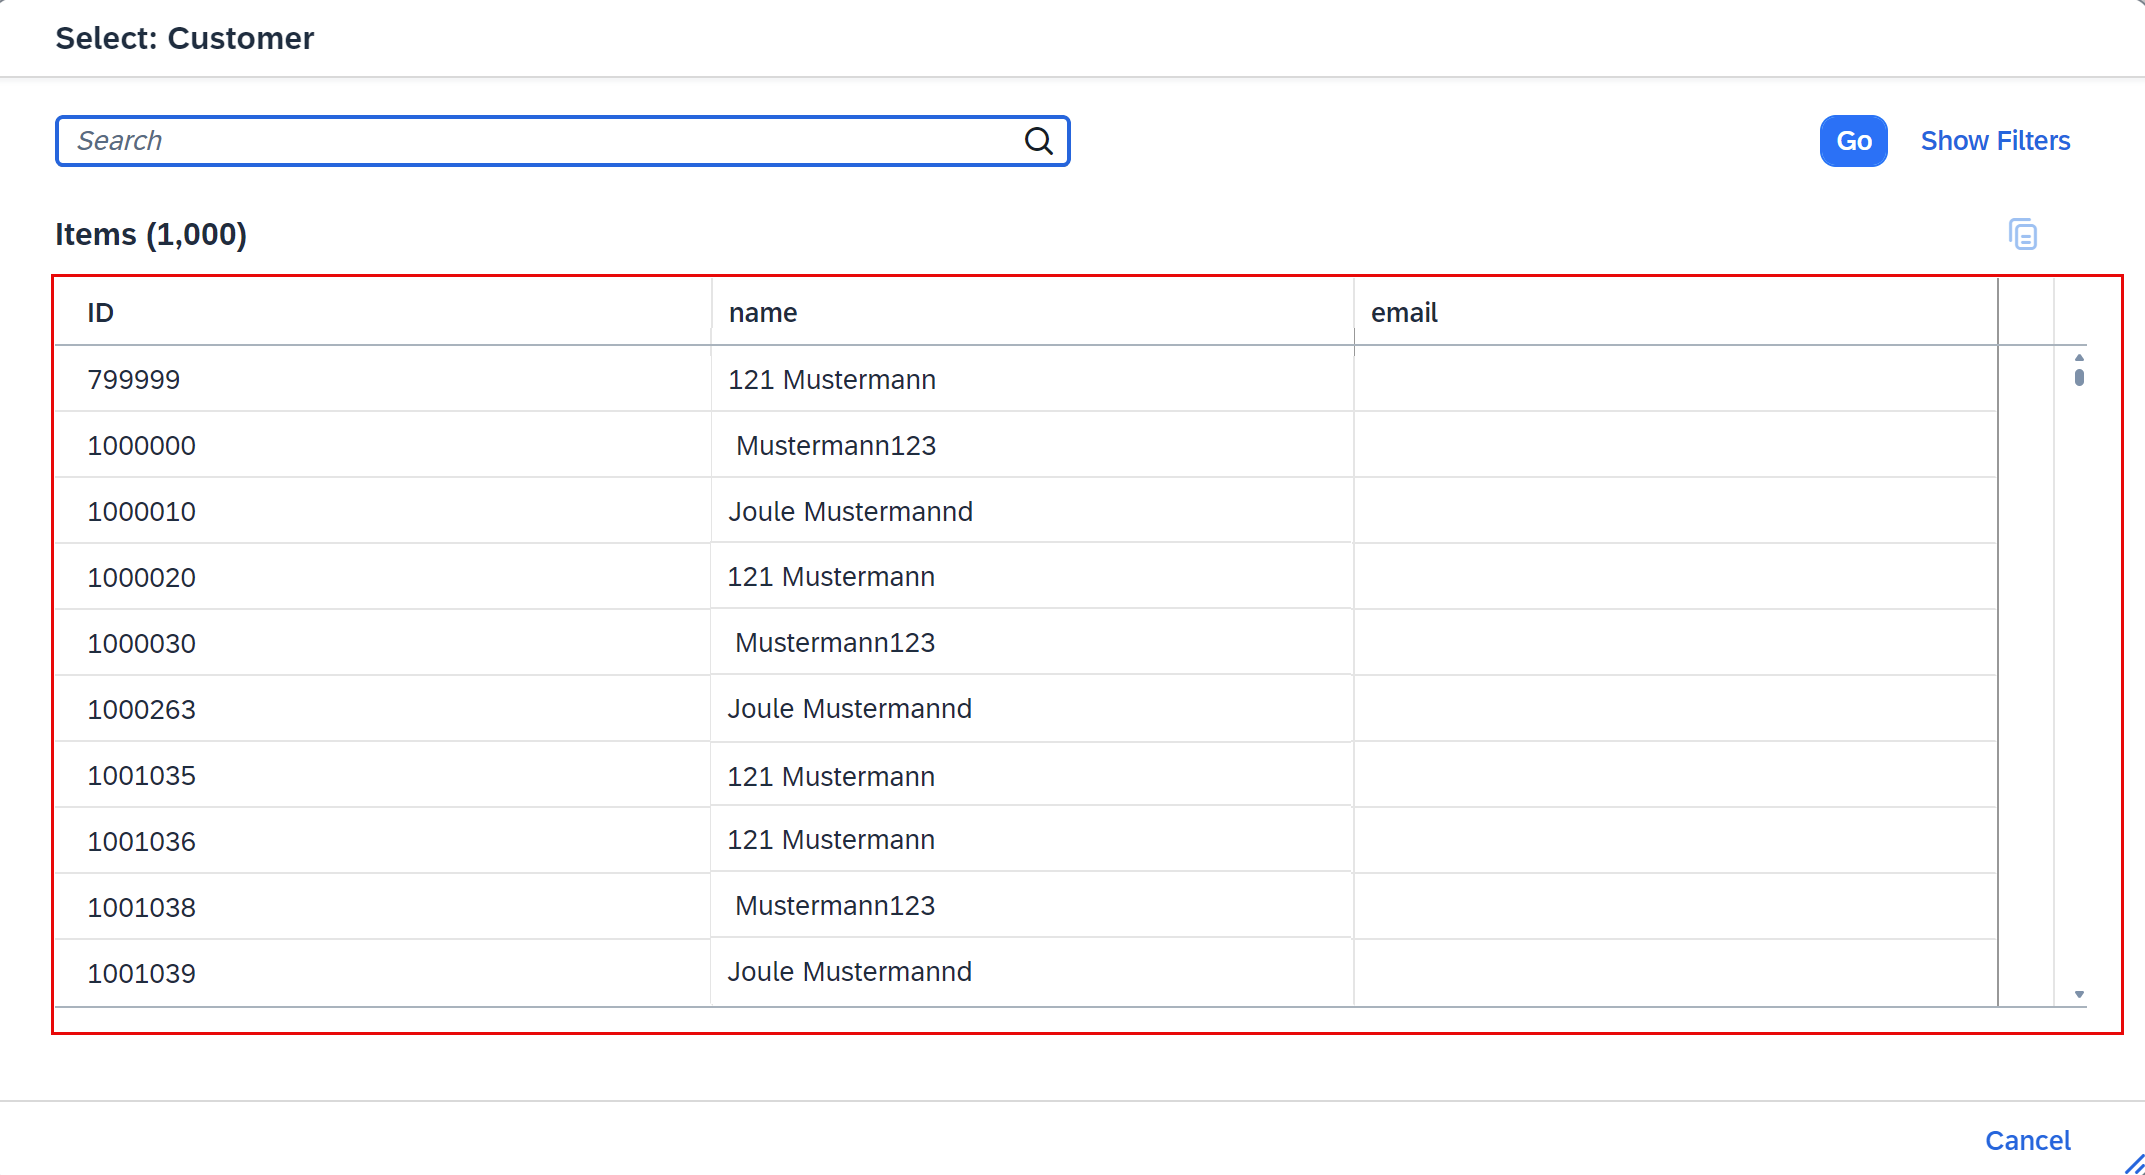
    When creating new entries in the Incident Management application, you should be able to see all values from your SAP S/4HANA Cloud system in the value help of the Customer field.

    Before you continue with this step, don’t forget to perform the steps from the tutorials Assign the User Roles and Integrate Your Application with SAP Build Work Zone, Standard Edition.

    1. Open your SAP Build Work Zone, standard edition site as described in Integrate Your Application with SAP Build Work Zone, Standard Edition.

    2. Choose the Incident Management tile.

      Incident Management tile on the launchpage
    3. Choose Create to start creating a new incident.

      Create a new incident
    4. Open the value help for the Customer field.

      Value help for Customer field
    5. Verify that customer data is fetched from the SAP S/4HANA Cloud system.

      Data in value help

    Congratulations! You have successfully developed, configured, and deployed the Incident Management application using an external service and an SAP S/4HANA Cloud system.

Back to top