Localize an iOS App with SAP Translation Hub

Prerequisites
- Development environment: Apple iMac, MacBook or MacBook Pro running Xcode 10 or higher
- SAP BTP SDK for iOS: Version 3.0 SP01
- How to enable SAP Translation Hub in your SAP BTP trial account
- How to add your SAP Translation Hub account into the SAP BTP SDK Assistant for iOS
- How to create multilingual capabilities to your Xcode project using the SAP BTP SDK Assistant for iOS
- How to modify and correct the generated translations
In this tutorial, you will use the SAP BTP’s integration with SAP Translation Hub to add multilingual features to your iOS app generated with the SAP BTP SDK Assistant for iOS. This way, you can run your app in many languages, depending on your device’s preferred language.
- Step 1
Log on to your SAP BTP account at https://account.hanatrial.ondemand.com/cockpit/, log in and choose Neo Trial as landscape.
In the navigation on the left select Services.
Locate the SAP Translation Hub tile (search for
translation):
If it is not yet enabled, click the tile.
In the next page, click the Enable button:

Once the SAP Translation Hub service is enabled, click the Go to UI for Translation Workflow link at the bottom.
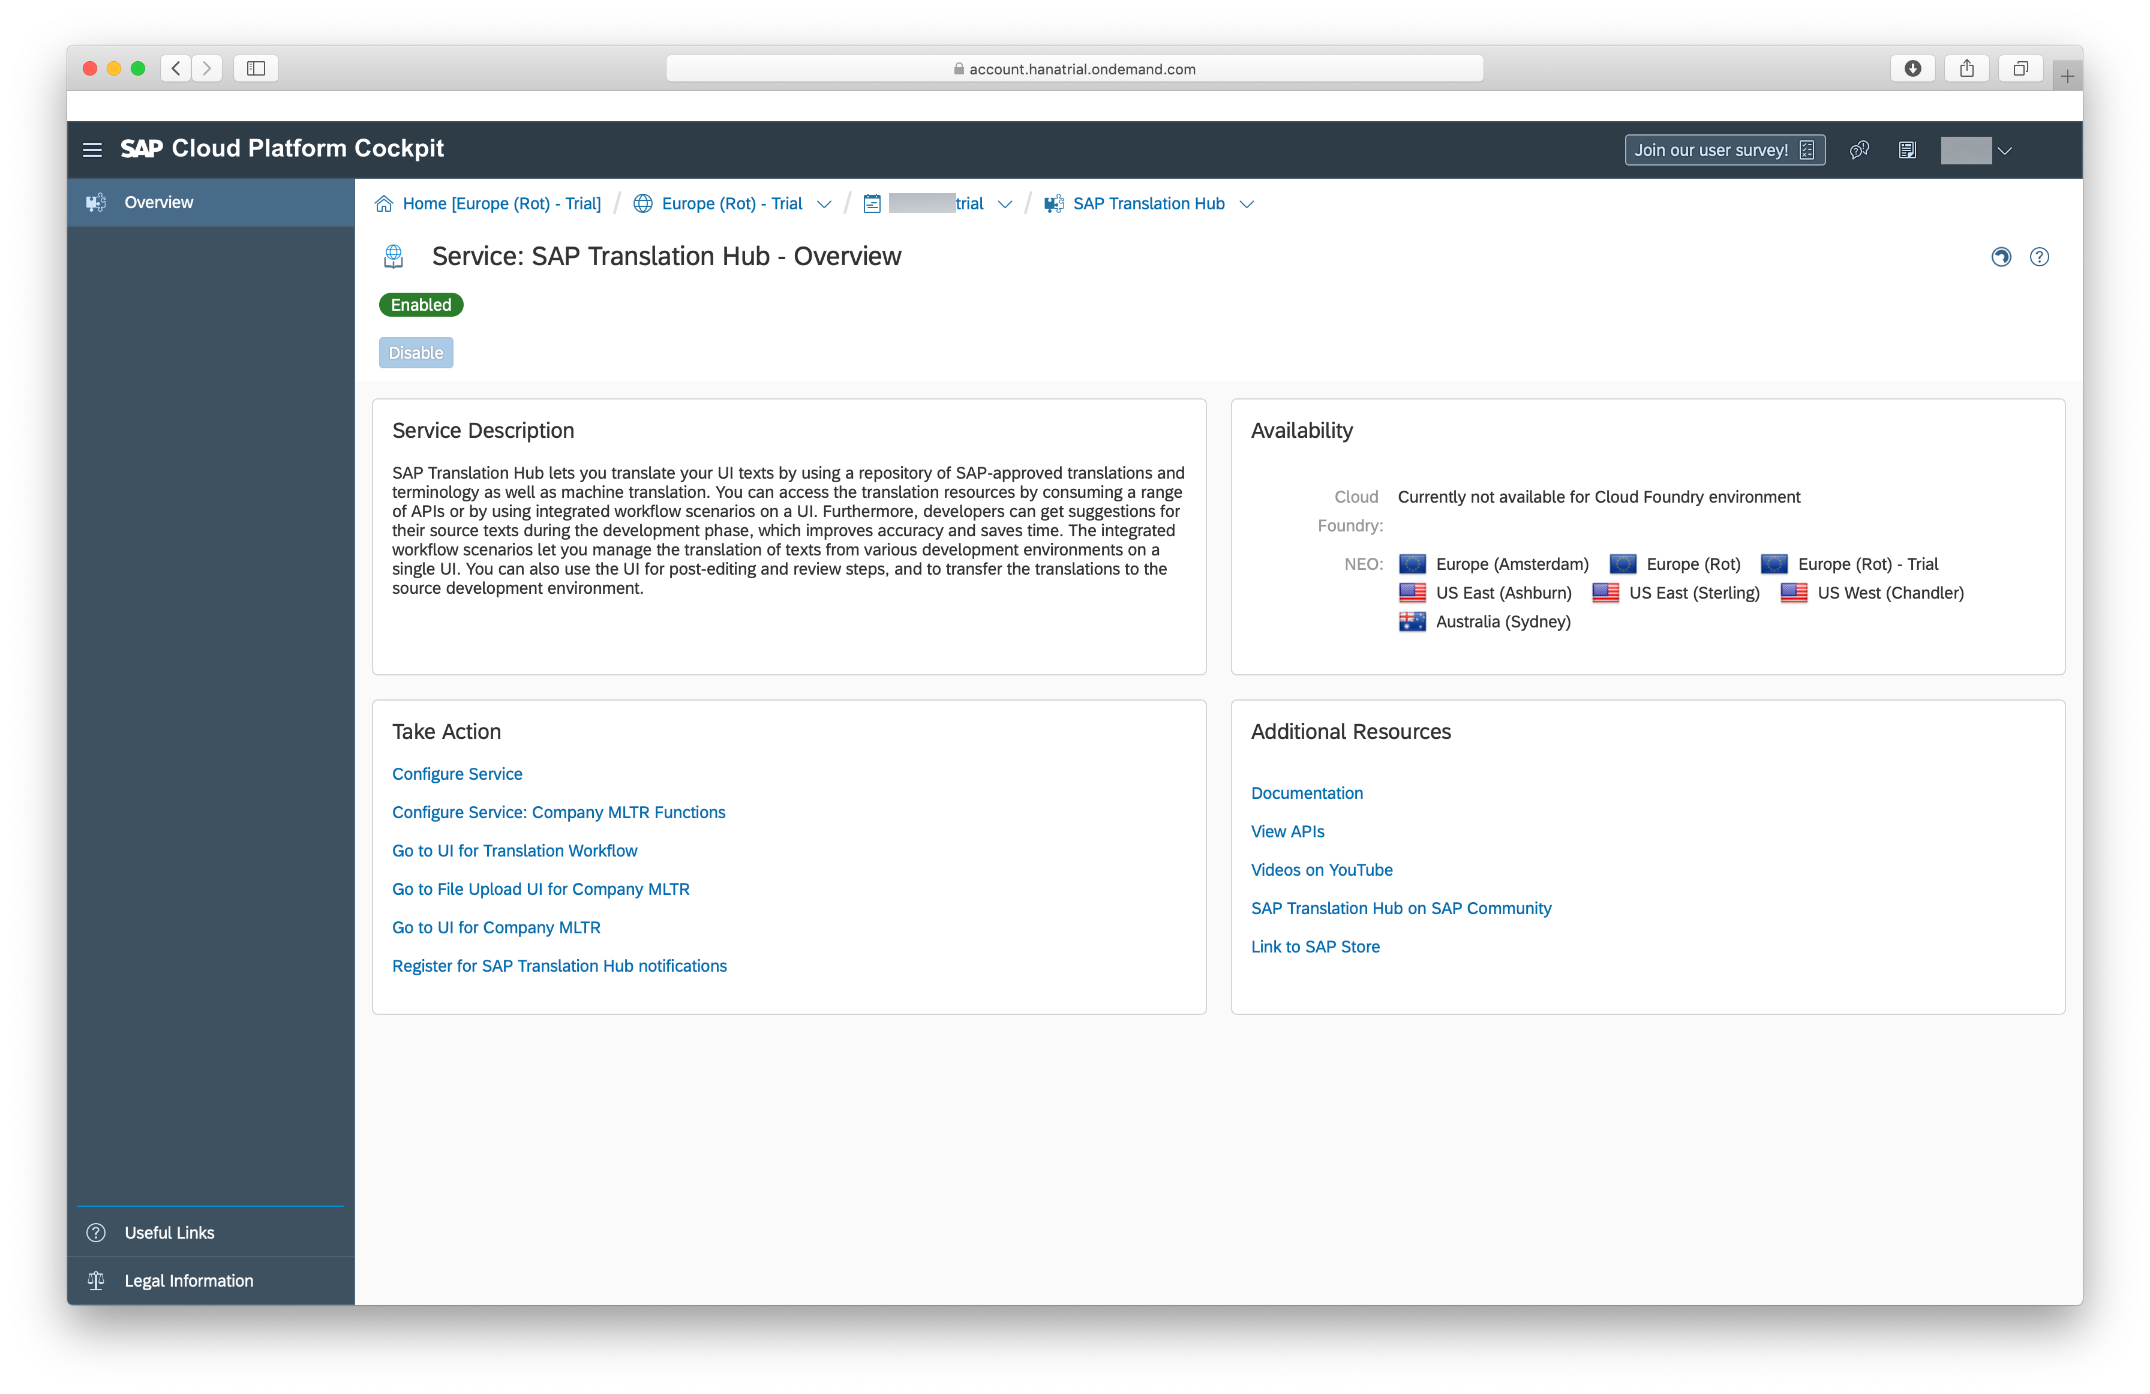
The SAP Translation Hub web interface will open in a new tab:

Leave the SAP Translation Hub web interface open for now, as we will need it later.
- Step 2
Open the SAP BTP SDK Assistant for iOS. Click the Manage Accounts option in the lower-left corner:

Click the Add new… button to add a new account.

From the Type dropdown list, select SAP BTP Translation Hub:

Enter the following values to your new account configuration:
Field Value Name A descriptive name for the configuration, for instance SAP Translation HubBase URL https://saptranslation-<your_trial_account_user>trial.hanatrial.ondemand.com/User Your trial account user Password Password for your trial account user 
Click Save when done. The account is now added to the SAP BTP SDK Assistant for iOS:

Go back to the main screen by clicking Back.
- Step 3
If you don’t have an application for the translation you can simple create one by adding a sample app in the SAP BTP SDK Assistant for iOS.
For that simply click on the Create new button on the initial screen.

Next select the Sample App tile to go to the creation process.

Make sure your Mobile Services account is selected and click on Next.

Now the assistant will ask you to add an SAP Mobile Services application. You can fill out the fields as you wish.
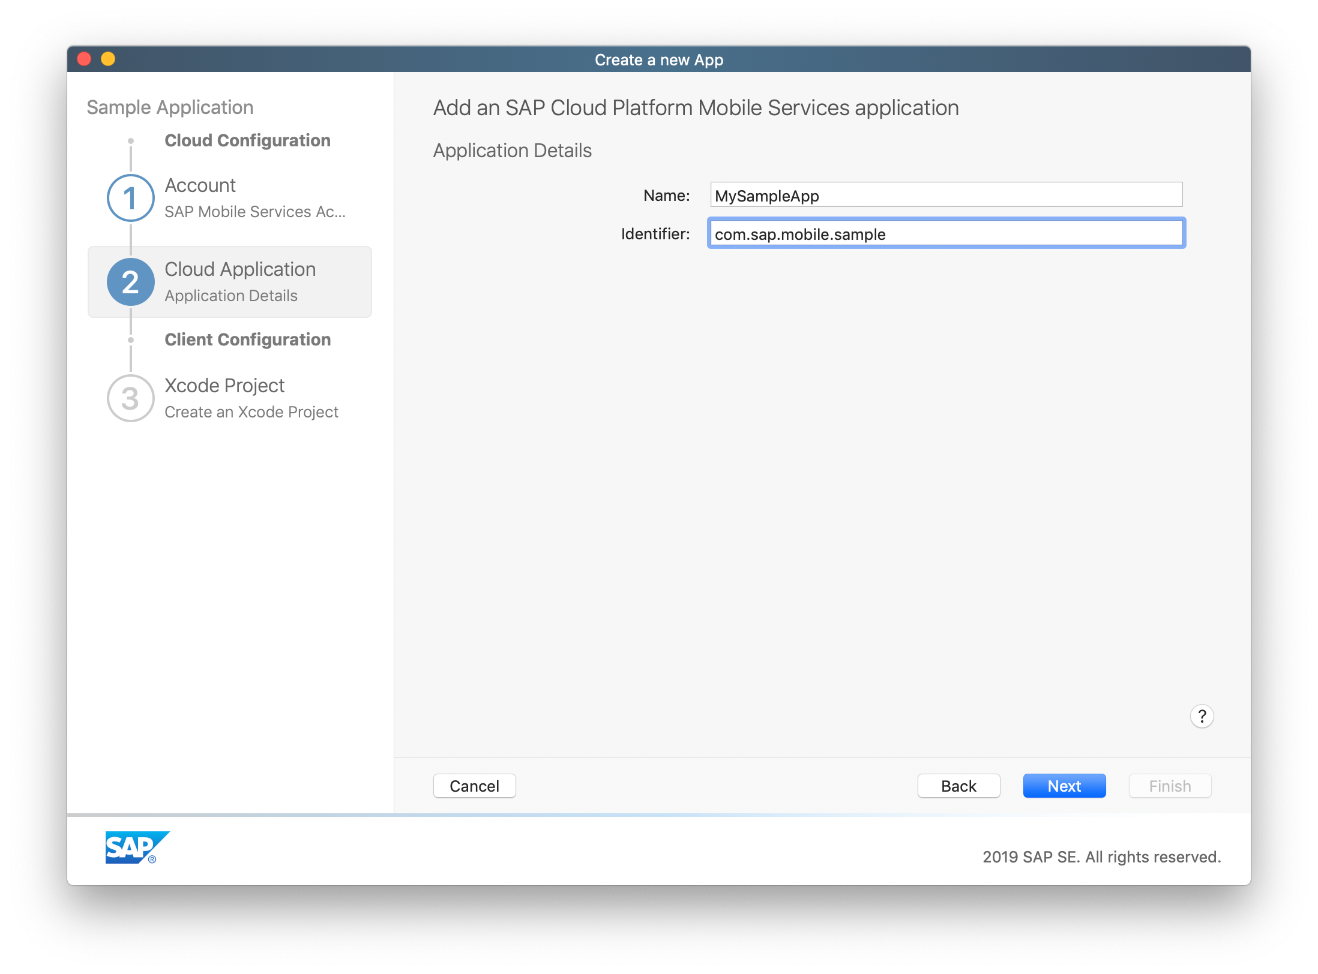
The last step is to create the Xcode project. Fill out the fields as you wish.

The project you just created is a fully functional iOS app connected against one of our sample services. After the creation you will see the project in the Recent Projects list on the initial screen. If you click on All Projects you will get an overview of all your projects.

On the Manage Screen click on Translate under the Add Translation part on the right side.

- Step 4
Now we will go through the translation flow to add localization to our app.
First select the previously added Translation Hub account and click on Next.

The Translation Hub doesn’t have a project yet so click on Add new to create one.

For the Translation Hub Project Details enter a Project Name and select the languages you want to translate to. Click on Save.

You will see now the created Translation Hub project. Select it and click on Finish.

- Step 5
Open the Xcode project for your app. Notice the added
InfoPlist.stringsandLocalizable.stringsfiles for the languages you have selected for translation:
If you run the app now, and change the simulators language to one of the languages you translated to, you will see the strings have changed. It can happen that some of the translations are not 100% correct. You can fix that relatively easy by changing the values in the
Localizable.stringsfile or you can do it in the SAP Translation Hub.
- Step 6
Go back to your cloud account and make sure you’re on the Neo landscape.
Navigate to Services > SAP Translation Hub in your SAP BTP trial account and click the Go to UI for Translation Workflow link. The SAP Translation Hub web interface will open in a new tab. you will now see the just added
MySampleAppproject:
Click on the Translations tab. On this page, an overview of the original texts and the translated texts for the selected languages are shown:

Here you can correct any translations that may be incorrect, and click the Save Project button once done.
- Step 8
If you go back to Xcode you will see
"CFBundleName" = "$(PRODUCT_NAME)";in theInfoPlist.stringsfile. This will help choose the correct translation of your app’s name. It is necessary to translate the app’s name manually, so we need to add translations for that.Each of the
InfoPlist.stringsfiles represent one of the languages. Go in each of them and change the"$(PRODUCT_NAME)"to a proper bundle name also add the following line of code right below it:swiftCopy
"CFBundleDisplayName" = "Your translated application name";
If you run the app now you should see the value you entered:

What do you think will happen when you did not generate a french translation?