Add Federated SAP S/4HANA Roles to Your SAP Build Work Zone Site
- How to create a new content provider
- How to add federated content to the My Content area
- How to make federated roles available in your SAP Build Work Zone site


Prerequisites
- You have set up SAP Cloud Connector and runtime and design time destinations for your SAP S/4HANA system.
- You exposed roles in your SAP S/4HANA system.
- You have created an SAP Build Work Zone site (see tutorial group Create your First Business Site with Apps).
- Step 1
In a first step, you will add the SAP S/4HANA system as a content provider.
-
Open the Site Manager of SAP Build Work Zone, standard edition.
-
Click the Provider Manager tab.

-
Click +New to create a new Content Provider.

-
Fill in the form using the destinations that you created in the second tutorial.
Field Name Value Name SAP S/4HANADescription SAP S/4HANA demo systemID Remove /, so the ID does not contain special characters except underscores. Design-Time Destination Select s4hanadtfrom drop-down listRuntime Destination Select s4hanartfrom drop-down listRuntime Destination for OData Use default runtime destinationContent Addition Mode Manual addition of selected content items -
Click Save. The content provider is added to the list and the content is loaded. This might take some seconds.

If you select Automatic addition of all content items, all exposed content items will be automatically selected in the Content Explorer and added to the My Content tab, as soon as you create the content provider. In this exercise, you will add content items manually, so you can learn how this is done. In productive accounts, you would usually use automatic addition to reduce manual effort and allow for automatic content sync.
Using Identity Provisioning service is recommended for productive scenarios as it allows to reuse user-role assignments from the content provider and reduces manual effort.
If you select Include group and catalog assignments to roles, the relationship of groups and catalogs to roles from the SAP S/4HANA system is taken into account for the display of the groups and catalogs on SAP Build Work Zone. For more details see the documentation.
-
Wait till the status says Created. If this takes long, try refreshing the browser page. If you want, click the Report link to see a summary of the created content.

-
- Step 2
-
Click the Content Manager icon to manually select roles from your SAP S/4HANA federated content, so you can add them to a site. These steps can be omitted when automatically selecting all exposed content.

-
On the right side of the page, click Content Explorer to access content coming from content providers.

-
Click the SAP S/4HANA tile to access the content provider that you just created.

-
Click the checkboxes to select both roles.
-
Then click Add.

You see that both roles have been added.
You can remove roles by clicking the Remove link.

-
- Step 3
-
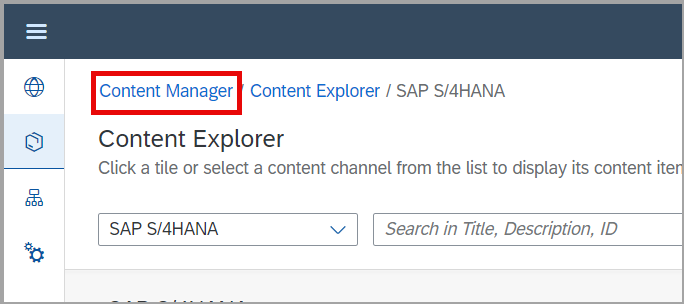
In the breadcrumb on top of the page, click Content Manager to go back to the main view.
-
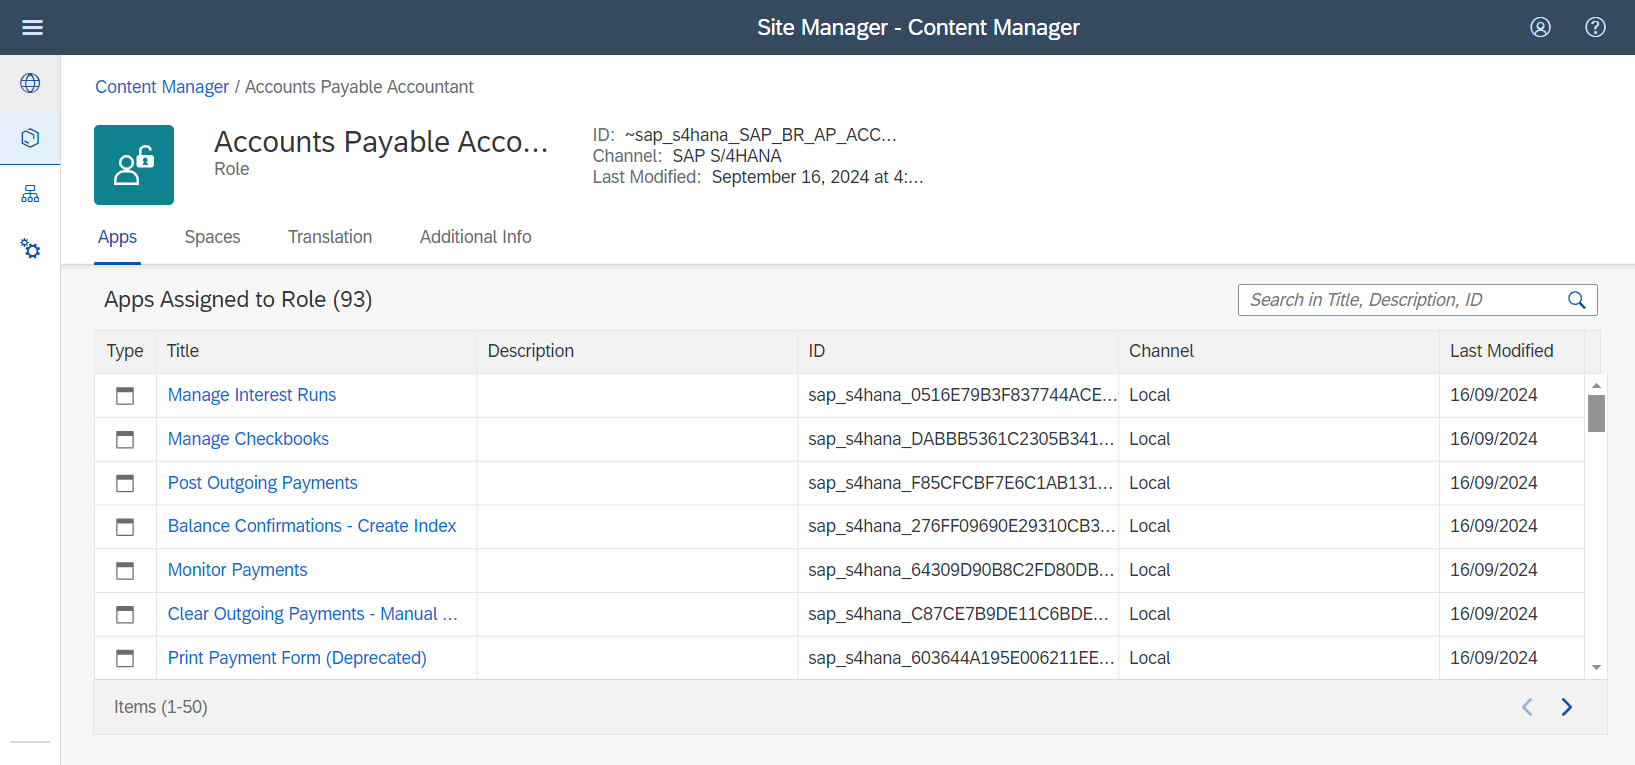
Click the Accounts Payable Accountant role to open it and view the apps that are part of this role.

You can see that there are 93 apps available in this role. When you navigate to the Spaces tab, you can see that there is also one space assigned to the role. In the next step, you will assign the role to your site.
-
- Step 4
To make the space and the apps that come with the two federated roles available in your site, you need to assign the roles to the site.
-
Click the Site Directory icon to access your site.

-
Click the Site Settings icon to open the
JobCoresite that you created in previous tutorials.
-
Click Edit to switch to Editing mode.

-
Click into the + Search for items to assign field to launch a search for all assignable roles.
You get a list with the two roles that you just added.
-
Click the Assign icons next to both roles.

The Assign icon switches to a red Unassign icon.
-
Click Save.

-
Click the Back to Site Directory icon.

-
- Step 5
Apps are only displayed to users with the corresponding roles assigned. You assign those roles as role collections to users in the SAP BTP cockpit. In a productive system, you would usually automate this assignment using the Identity Provision service.
-
Open the SAP BTP cockpit of your trial account.
-
Navigate to Security > Users to assign the role collections to your user. When you added the federated content, one role collection for each federated role was automatically created.

-
In the list of users available in your subaccount, click on the name of your user.

-
In the user details panel on the right, click the three dots in the Role Collections section to open the menu. Then select
Assign Role Collection.
-
In the pop-up window select the checkboxes in front of the two federated roles
~sap_s4hana_SAP_BR_MASTER_SPECIALIST_FINand~sap_s4hana_SAP_BR_AP_ACCOUNTANT. Then click Assign Role Collection.
Now you are done in SAP BTP cockpit.
-
- Step 6
-
Go back to the Site Directory to launch your
JobCoresite. -
Click the Go to Site icon. The site opens in a new browser tab.

-
Check the new SAP S/4HANA spaces, pages, and apps that have become available in the site. Depending on how much content you created in the site in previous exercises, you will see spaces created in SAP Build Work Zone first, then you see two spaces, one for each federated role.

-
Launch the SAPUI5 app Manage Outgoing Checks in the Checks group. Click Go to see some data.


-
Click the SAP icon to go back to the Work Zone homepage.
-
Launch the SAP GUI app Maintain Business Partner in the Business Data Master group.

> Note: If you select Spaces and Pages - New Experience as View Mode in the Site Settings, you can now also add the federated apps to pages you create on SAP Build Work Zone with the page editor.
Which of steps are required to make federated SAP S/4HANA content available in your SAP Launchpad site?
-