
Overview
You will learn
- How to deploy your MTA application to cloud foundry
- Verify the services created via MTA deployment


Prerequisites
- Entitlements for
abap/saas_oemsystem, Cloud Foundry Runtime, ABAP Solution service, SaaS Registry, XSUAA.
Steps
Before we can deploy the services, we need to connect to the right subaccount and space.
Click the banner at the bottom of the Business Application Studio with text “The organization and space in CF have not been set”

Set Org and Space Enter your Cloud Foundry API endpoint. This can be found in the BTP cockpit in the overview section of your 05 Provide subaccount in the global account for development

API End Point Enter your Cloud Foundry username and password
Select the organization from the list. This information is also available in the BTP cockpit where you found the Cloud Foundry API endpoint

Organization Select the space within the organization where the services shall be created

Space
Right click on the mta.yaml file and select ‘Build MTA Project’ and wait for it to be built.

Build MTA In the terminal, navigate to the folder which contains your mta.yaml file. If you are in the router folder, this can be achieved with the command.
Shell/Bashcd .. ```. > Note: The terminal from the build cannot be re-used and a new one needs to be openedExecute the following command to deploy to Cloud Foundry. During the MTA build, an MTA archive file is automatically created with the MTA ID acting as the file name. A similar process could be followed using the prod extension descriptor in the global account for production after tests are satisfactory in the global account for development.
Shell/Bashcf deploy mta_archives/tutorial_mta_0.0.1.mtar -e extensions/dev.mtaext ```. 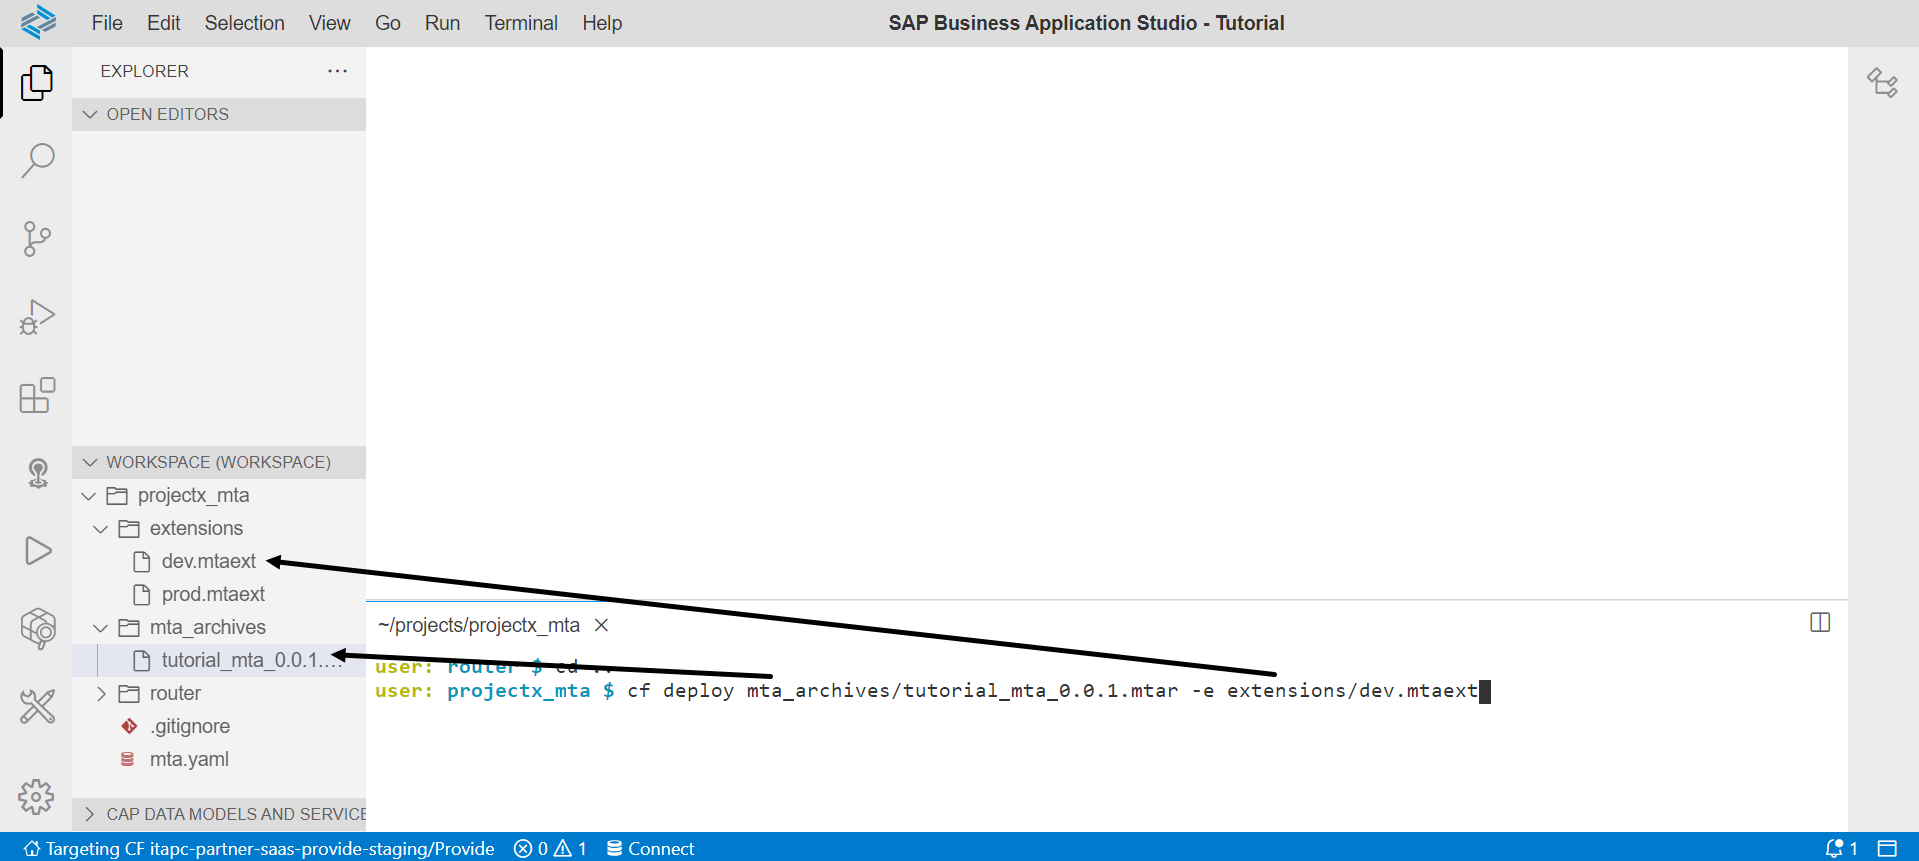
Verify that the services and approuter are created and that the approuter has started.
The approuter can be found by navigating to the space connected with the Business Application Studio.

The services can be found by navigating to the ‘Instance and Subscriptions’ section of the BTP cockpit in the subaccount connected to the Business Application Studio (here the subaccount would be ‘05 Provide’ and the space would be ‘Provide’)

As a provider, you need to create a destination to the Cloud Foundry Cloud Controller API. The destination will be used to enable the creation of service instances, service keys etc.
Note: The user maintained in the destination needs to have ‘Space Developer’ role assigned. It is recommended to use a technical user instead of a personal user.
Navigate to the provider subaccount (05 Provide)
Navigate to Connectivity → Destinations

Destinations Create a new destination named ASP_CC
JSONName: ASP_CC Type: HTTP Description: <optional> URL: <enter the API Endpoint domain of your cloud foundry landscape. You can find it under your subaccount > Overview. Example: https://api.cf.eu10.hana.ondemand.com Proxy Type: Internet Authentication: OAuth2Password User: <User ID/E-mail> Password: <password> Client ID: cf Client Secret <needs to be left blank> Token Service URL: http://uaa.<landscape-host>/oauth/token Example: https://uaa.cf.eu10.hana.ondemand.com/oauth/token
For more information around the token service URL, see Regions and API Endpoints for the ABAP Environment
Resources
Discussion
Share feedback on this tutorial or join the conversation in SAP Community.